
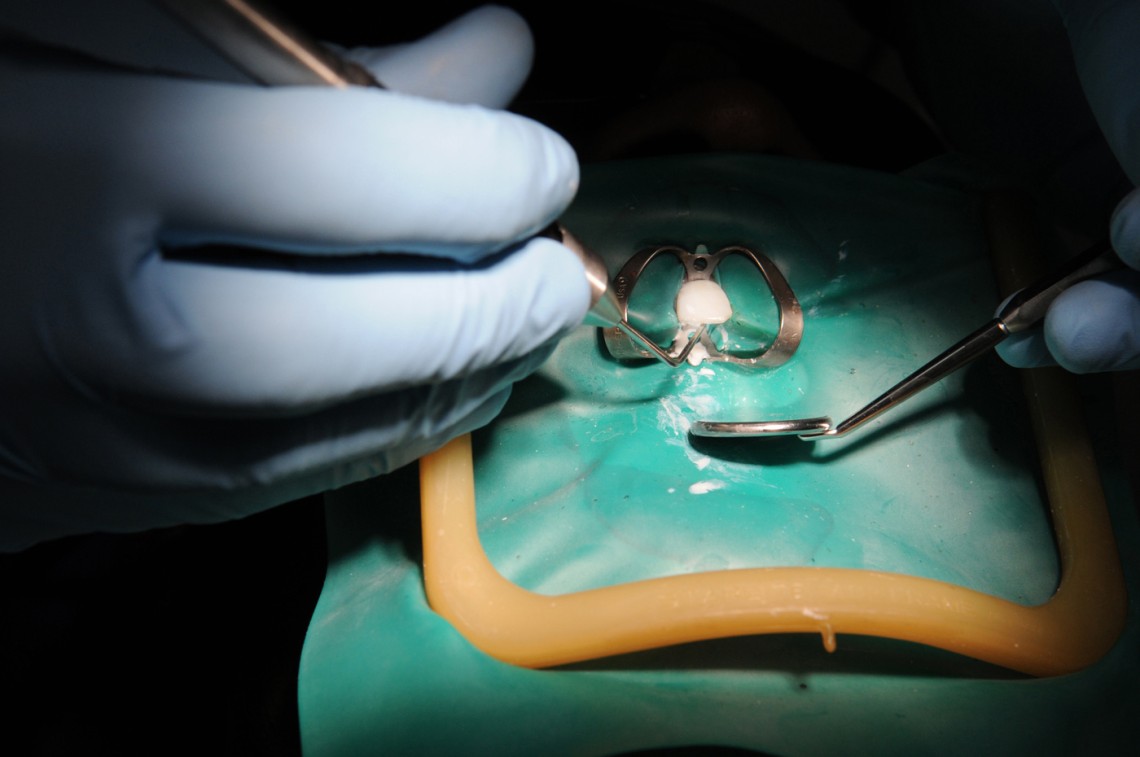
Obturation Tip
It is well known that students struggle with obturation and the use of the classic ‘cold lateral condensation’ technique.
Here is a step by step guide on how to perfect your obturation from Dr Alison Qualtrough – Consultant Restorative Dentist and a Specialist Endodontist here at Manchester.
- The tooth should be asymptomatic and the canals dry.
- In a multi-rooted tooth, place a paper point in the other canals whilst you are filling one, this will prevent GP points and sealer from being misdirected.
- In multi-rooted teeth, fill the largest canals first.
- When the canal(s) have been filled, cut the GP back to just below the level of the cemento-enamel junction and cover with a thin layer of flowable glass ionomer.
- A cone fit radiograph is not essential if you have a reliable working length radiograph.
- A cone fit radiograph is recommended if you only have an apex locator reading for working length.
- If the main gutta percha point will not go to length, check that you have sufficient coronal opening.
- If the main gutta percha point will not go to length, try another of the same size; there is only a 10% fit accuracy between points of the same size!
- If you cannot get “tug back”, cut 1mm from the tip of the point and try again.
- Only use a thin smear of sealant on the GP points.
- Make sure that you measure the length of the lateral spreader at 3mm short of the working length. Use a stop to mark the length, otherwise there is a risk of extruding points beyond the apical foramen.
- Use a gentle twisting movement when removing the lateral spreader when you are condensing; preventing points from sticking to the spreader.
- Take the final radiograph on the day of obturation.
- The next radiograph should be taken in 12 months.

